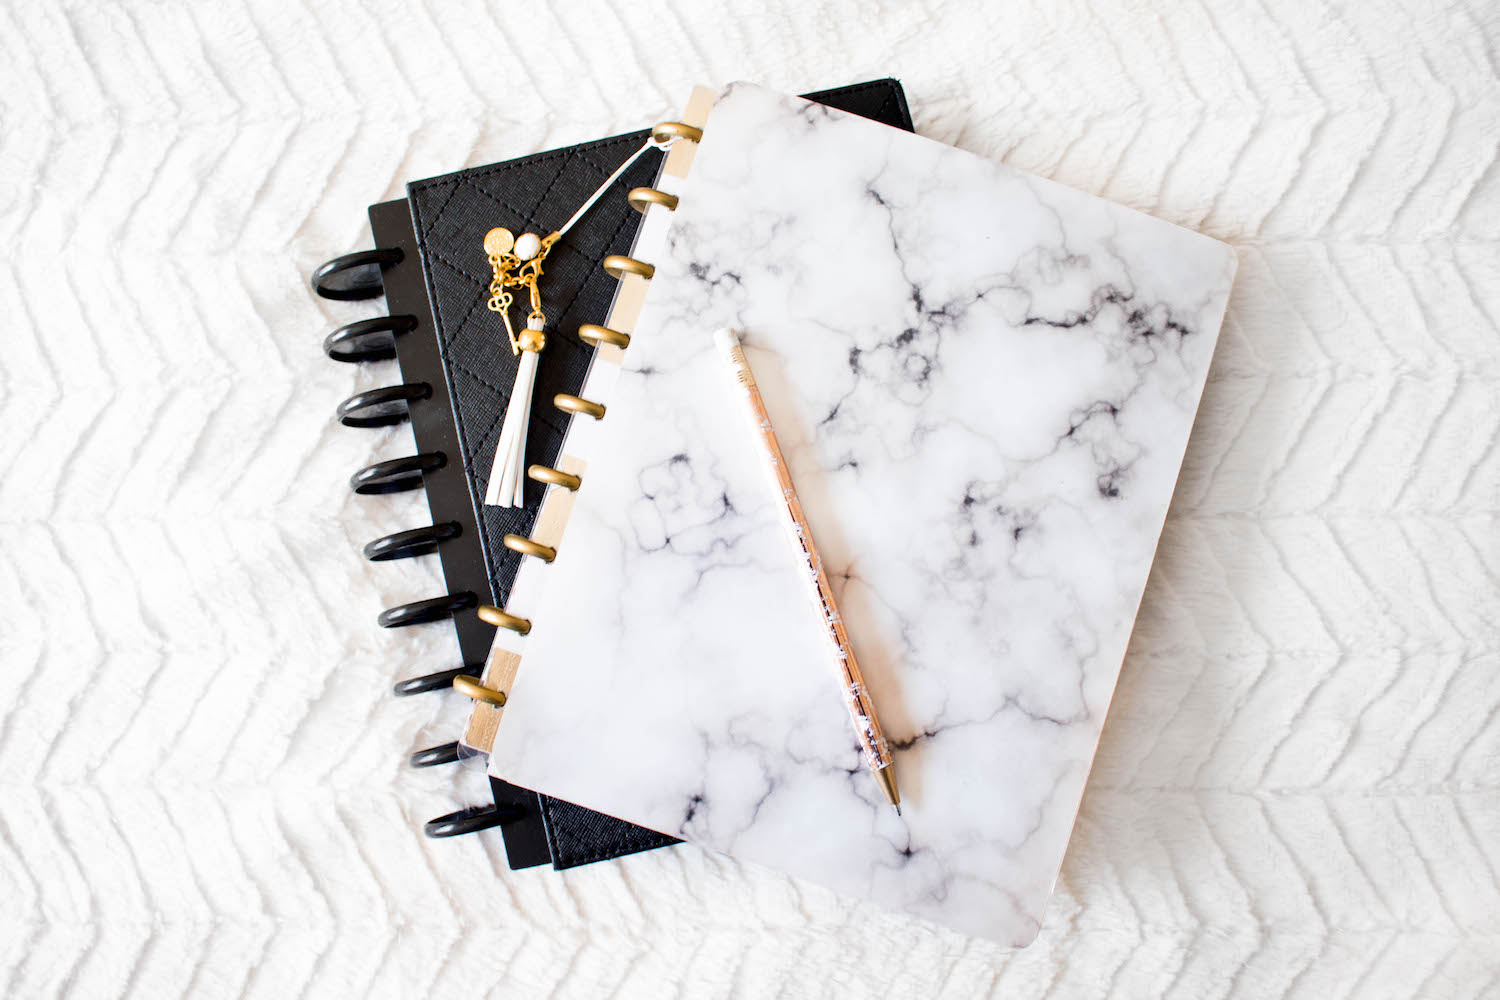
DIY Marble Disc-bound Notebook
Thanks to the Happy Planner, the disc-bound system has gained a lot of popularity. Did you know you can do so much more than use this system as a planner? Do you have notebooks to sketch in, take class notes, or even to journal? Well you can easily create a disc-bound notebook to do all of that! In this post I’m going to show you how to create your own highly customizable disc-bound notebook you can make at home.
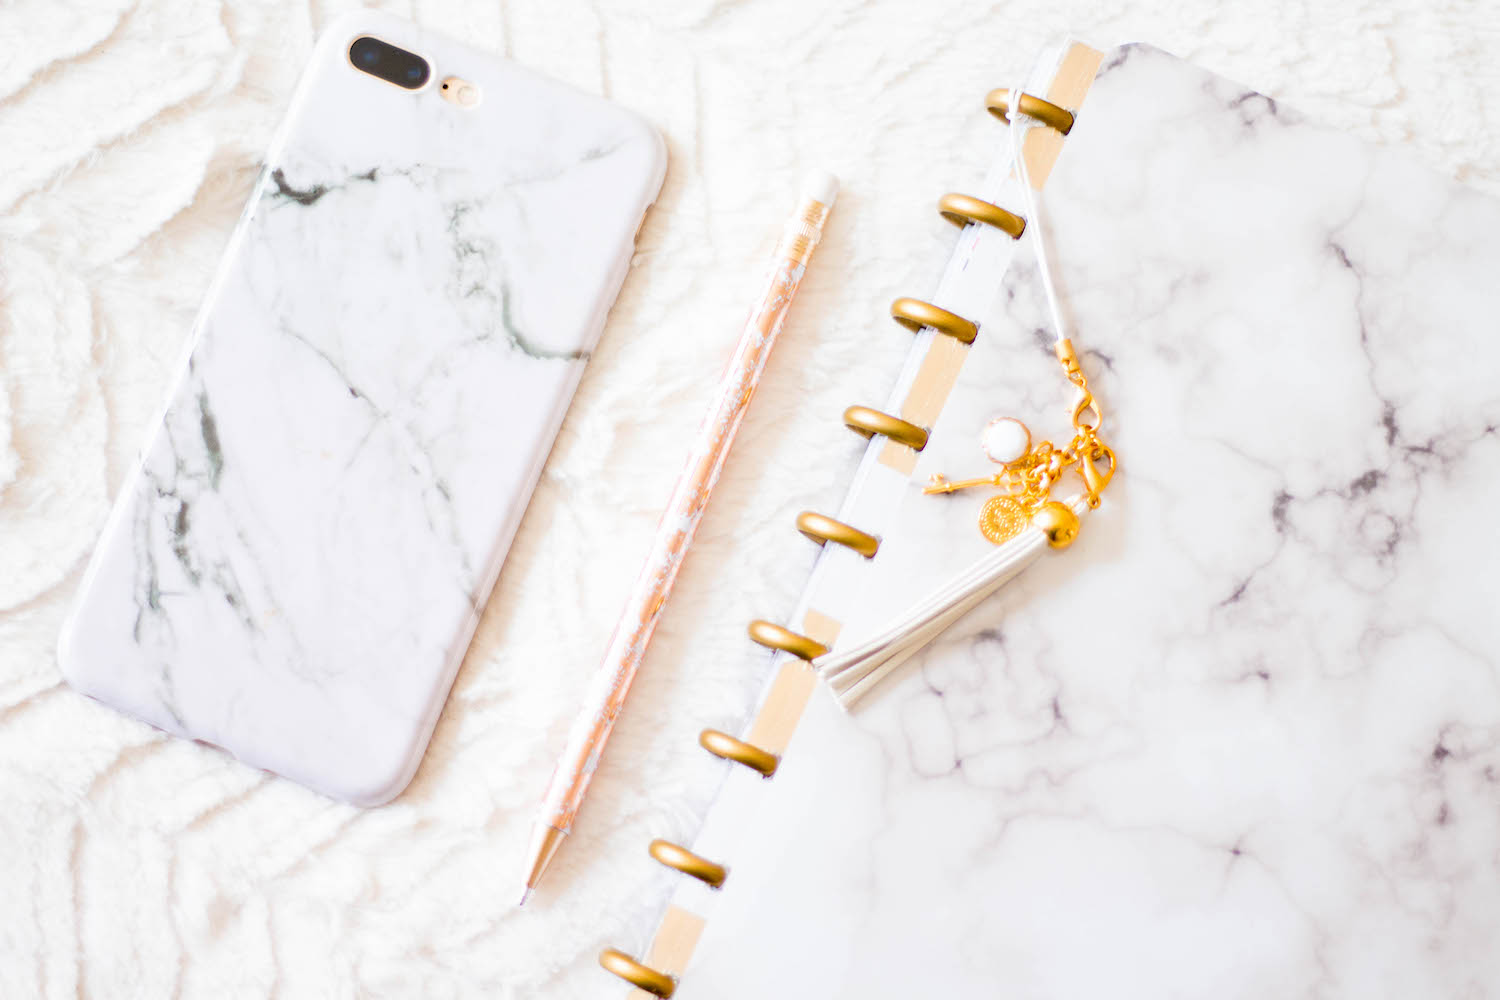
I’m obsessed with marble. My phone case is marble, my laptop case is marble, and even my desktop wallpaper is marble. So surprise surprise, I decided to create a marble notebook. I purchased all of the supplies from Michael’s Craft store. Here’s what you will need:
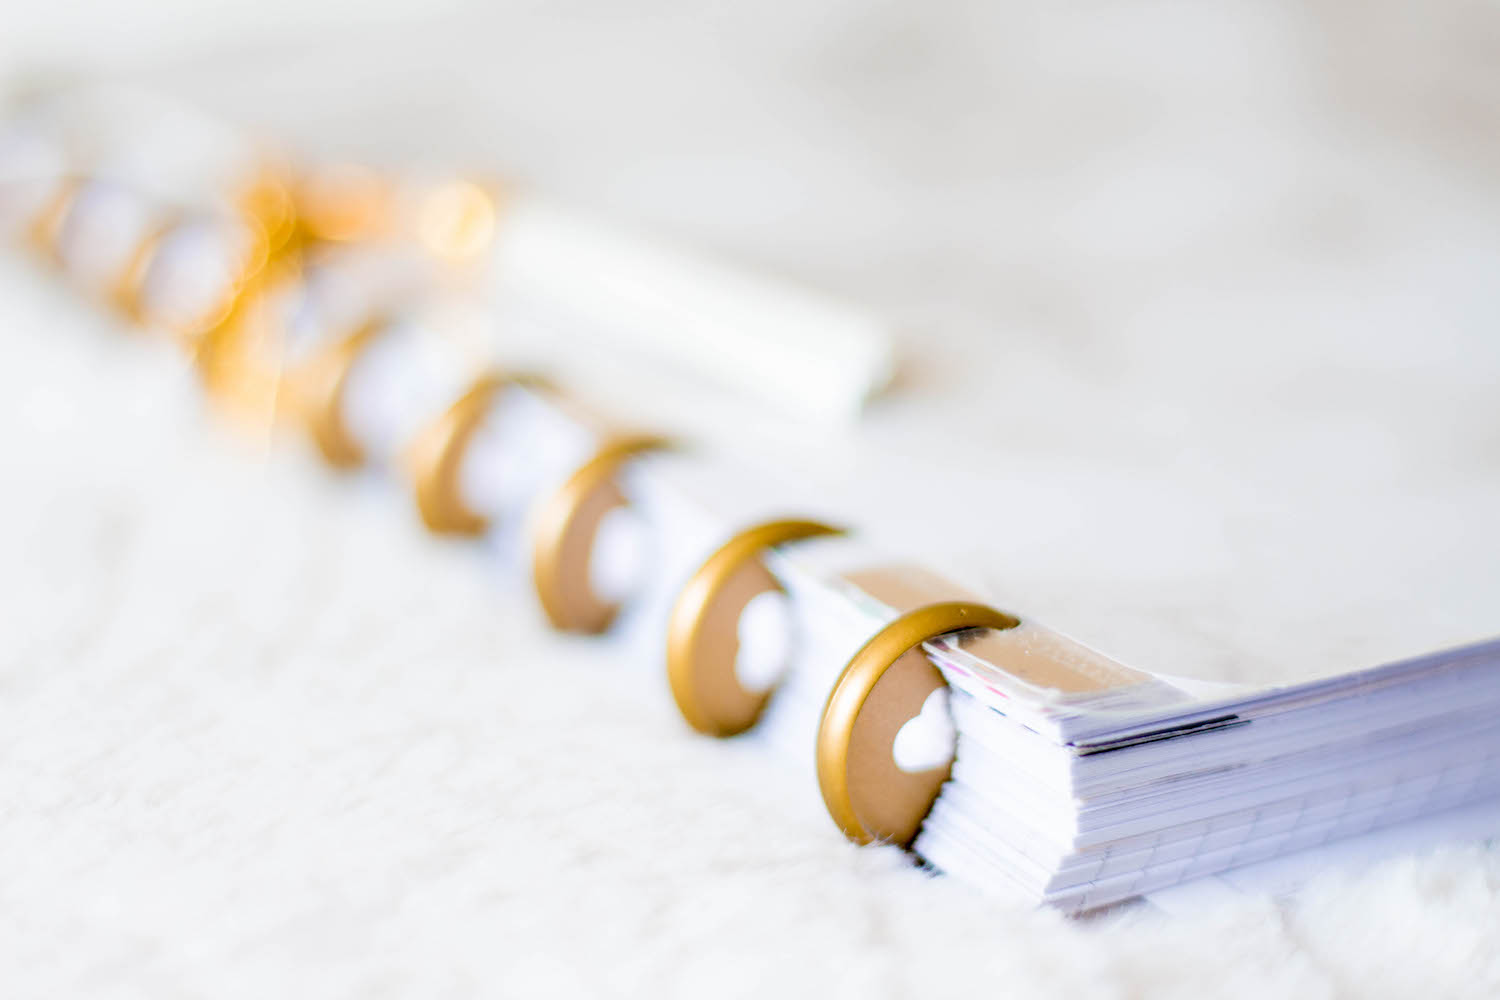
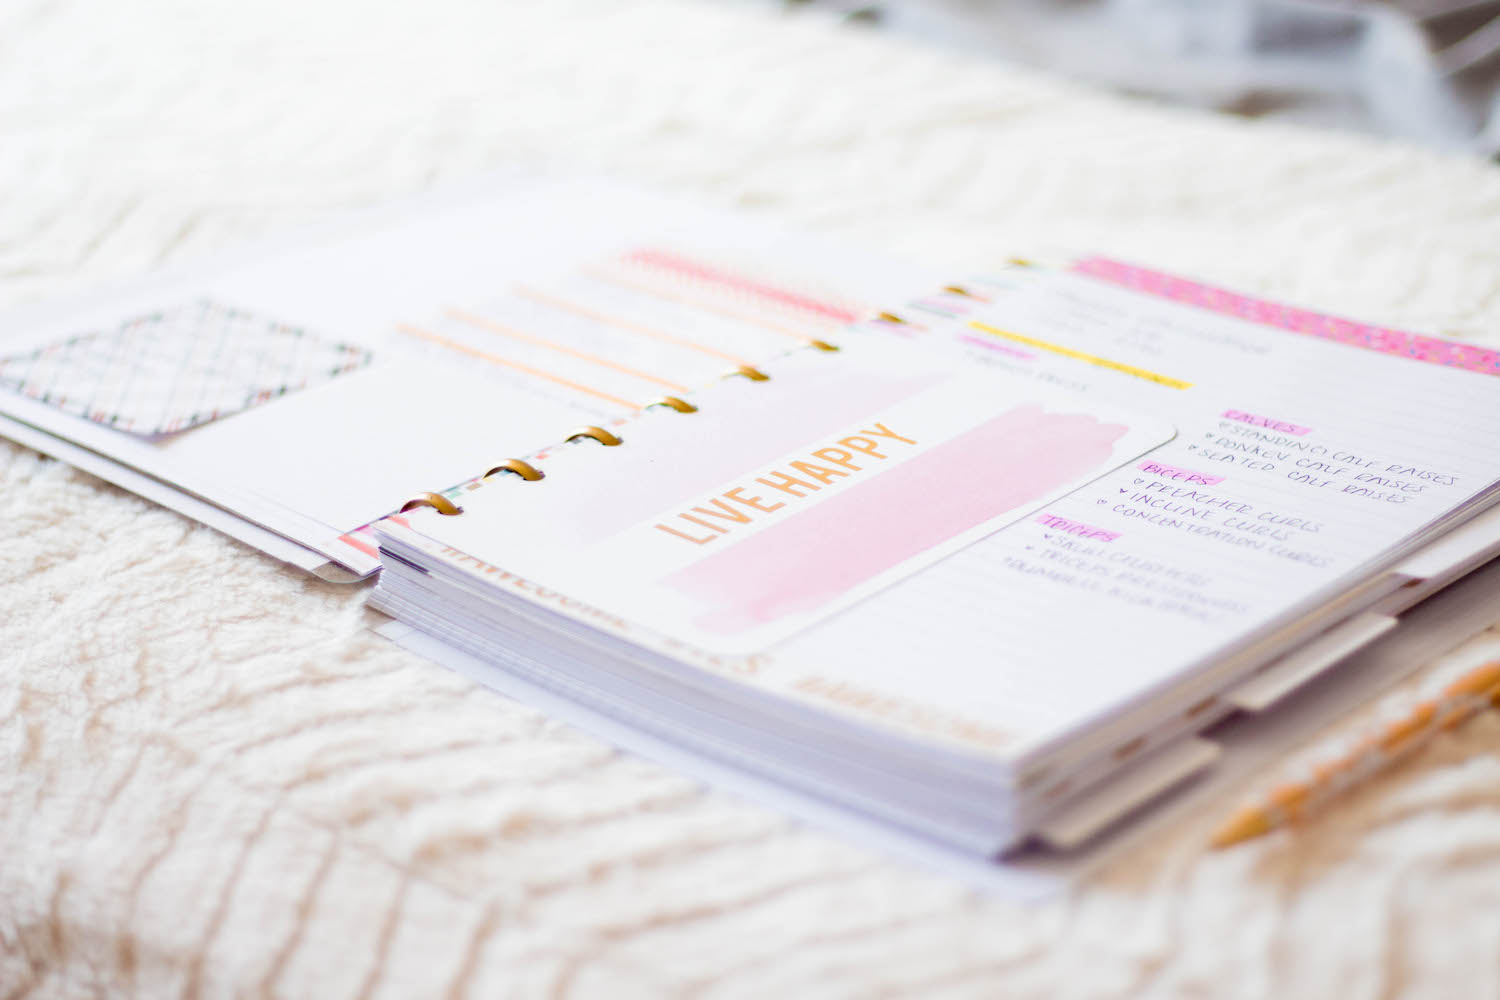
Discs for your disc-bound notebook.
These come in all colors and sizes. You can get the small ones like I have in this picture, medium-sized ones, or even the giant ones. The bigger the rings, the more pages you can insert and keep in your notebook.
A Cover
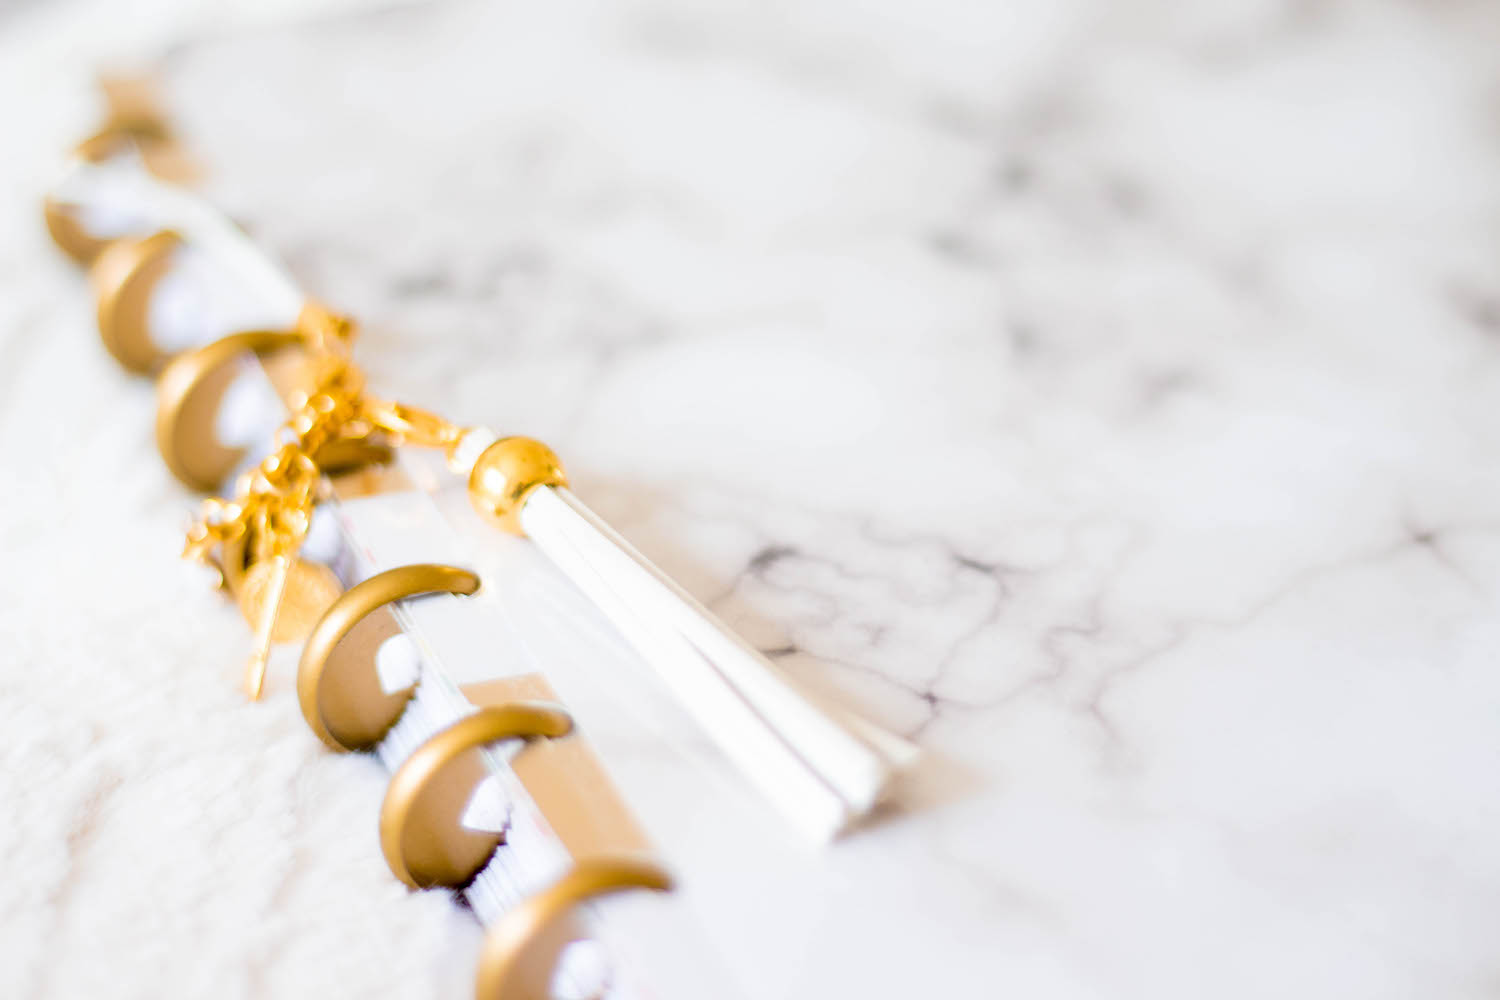
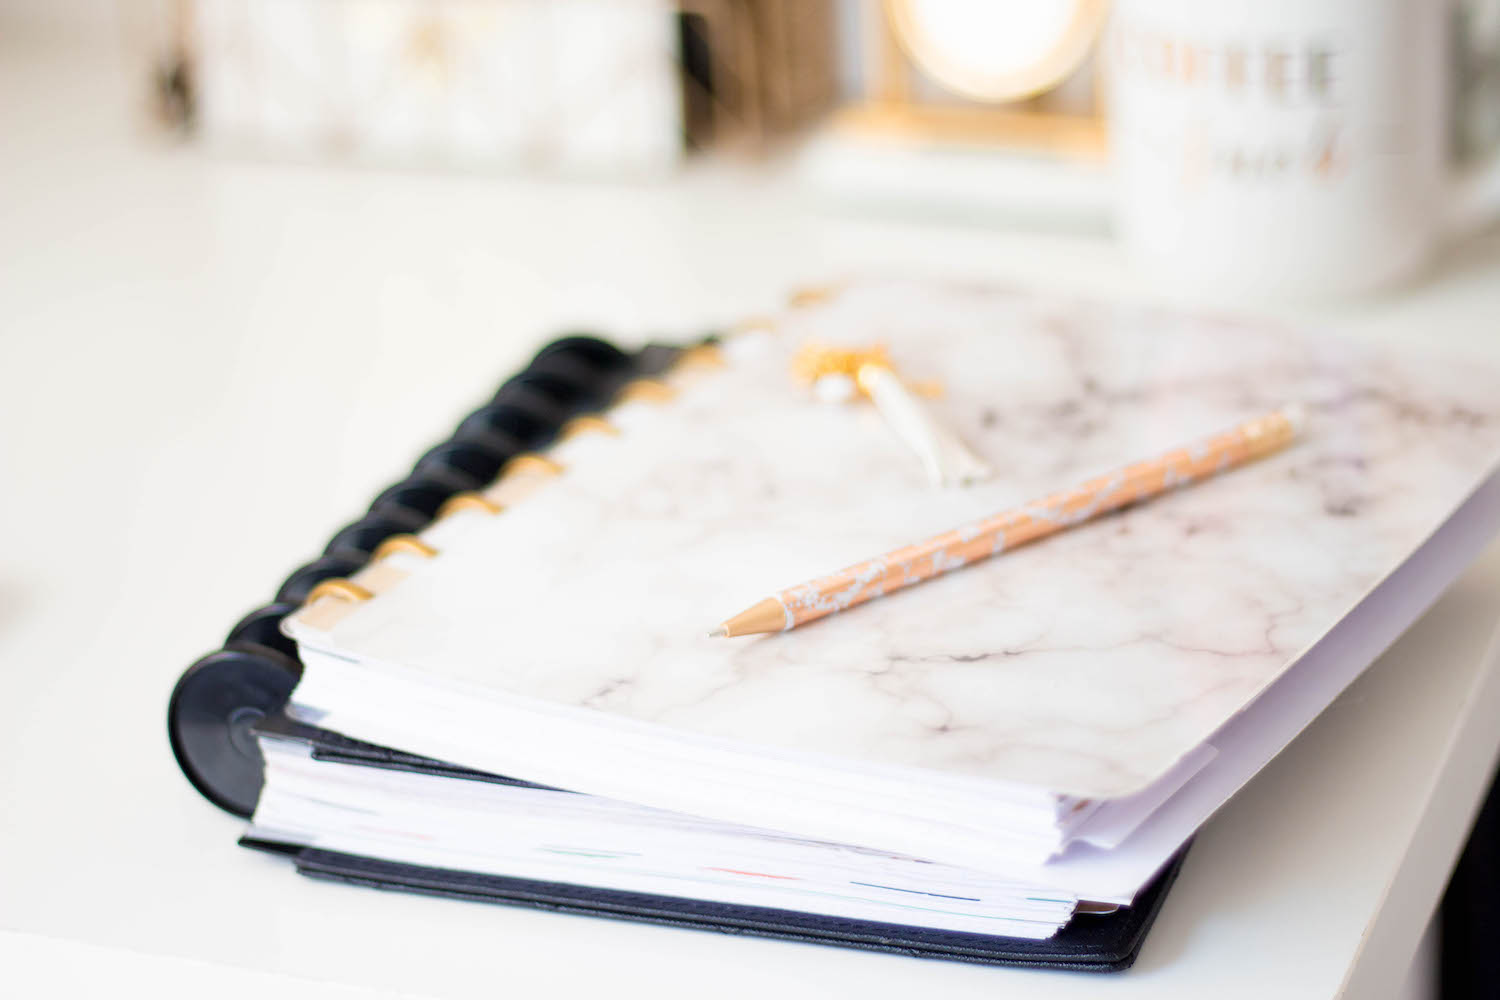
This is where you can really make your notebook your own. You can purchase the Happy Planner diy cover, which is basically lamination sheets where you can insert scrapbook paper, pictures, stickers, etc. Customize the cover that YOU want. I created a marble cover by inserting a marble printed scrapbook paper inside the lamination sheets.
Dividers
If you are as super organized as I am, dividers is an option you might want for your notebook. This way you can organize your pages in your notebook in categories.
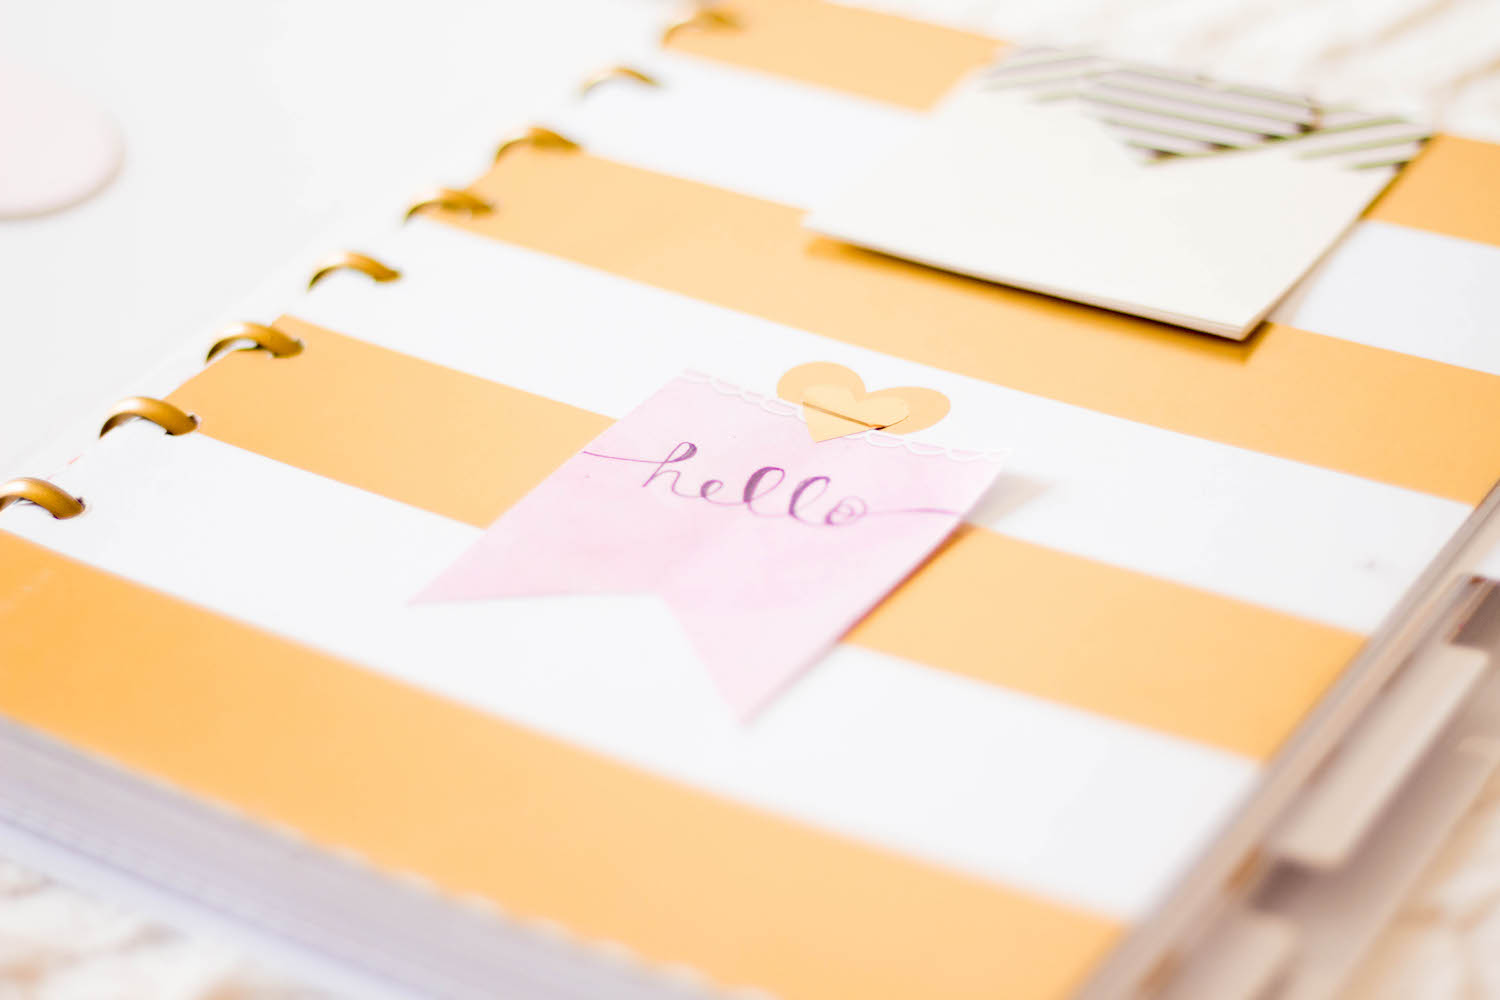
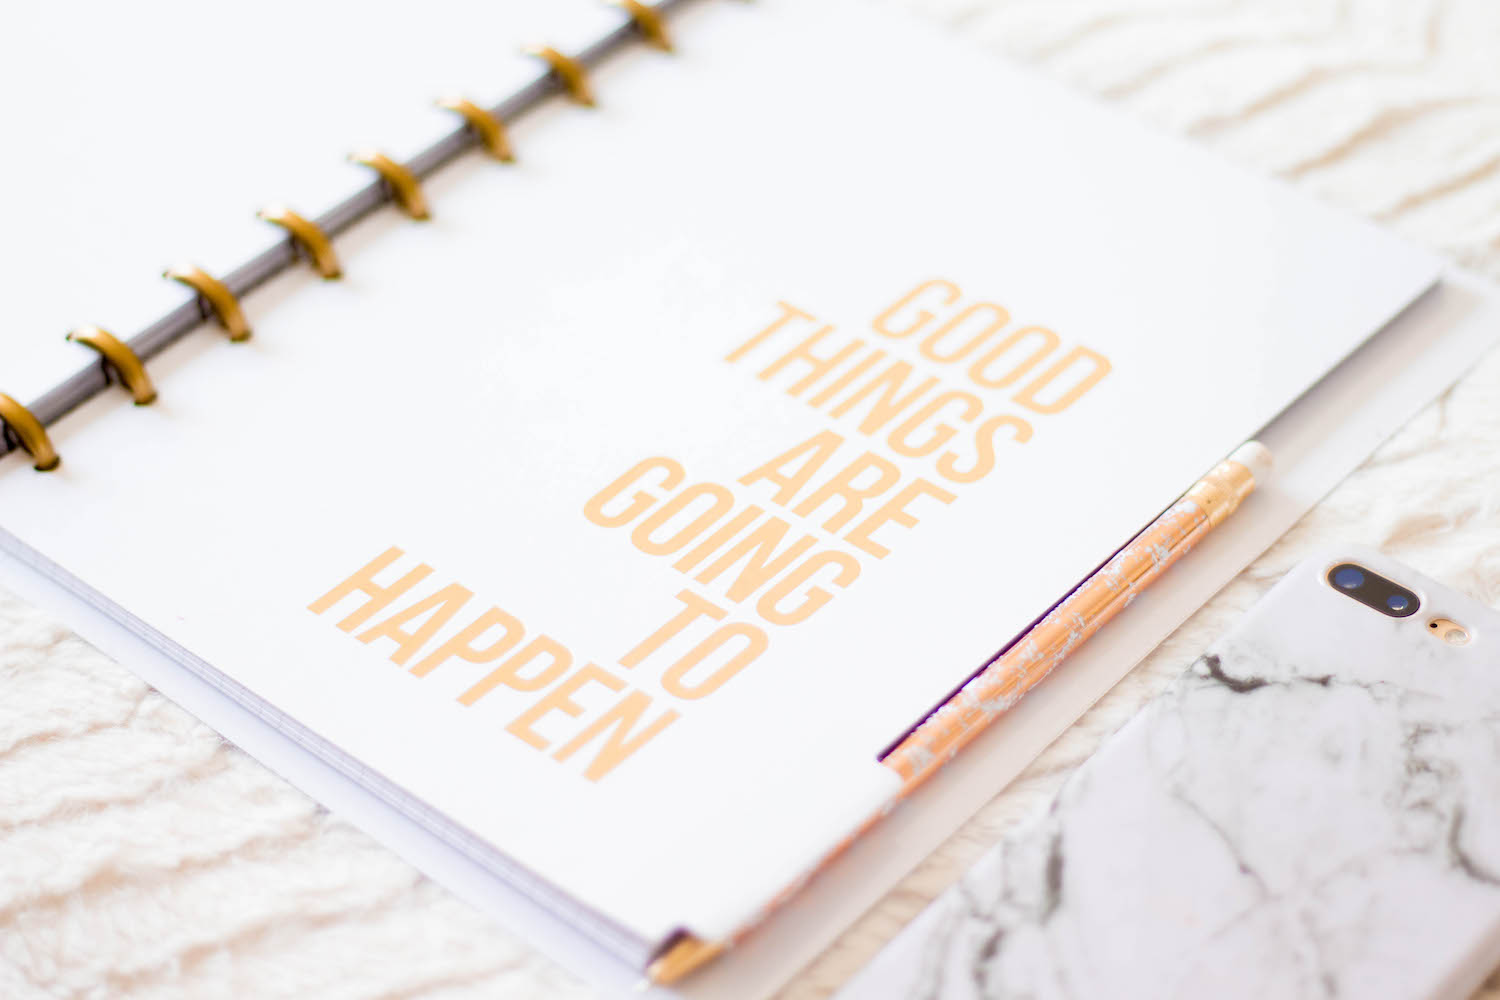
Paper
This is an obvious, you can’t have a notebook with out paper. You can buy packs of disc-bound paper at Michael’s/Hobby Lobby, or you can purchase a disc-bound hole puncher and punch in your own pages. I like to keep lined pages for notes as well as graph paper for bullet journaling.
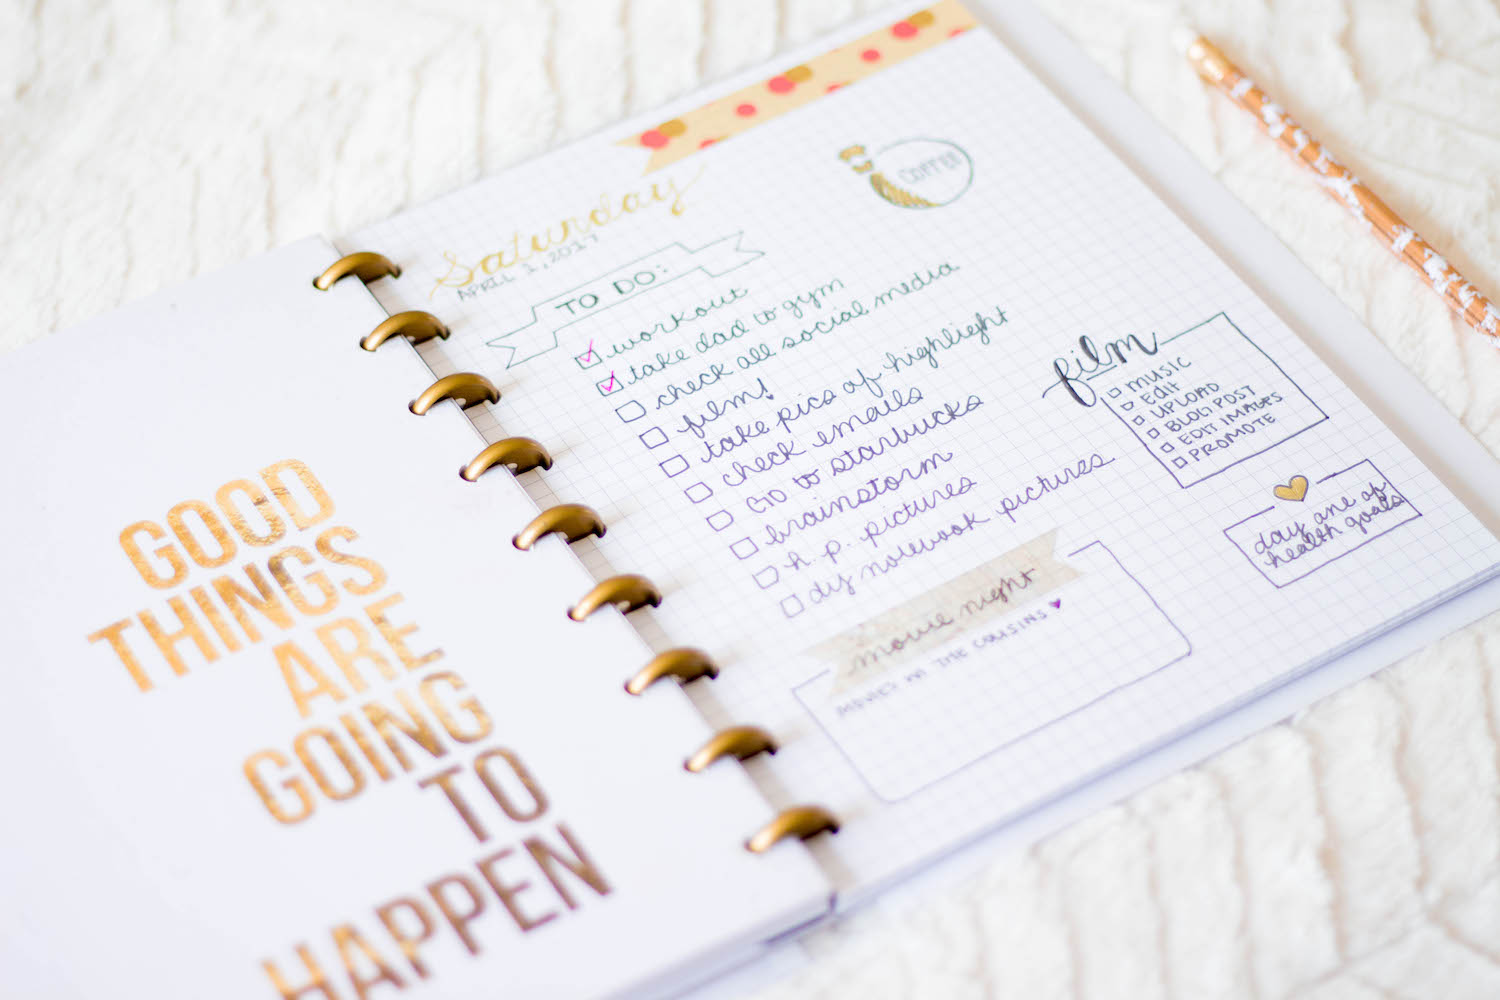
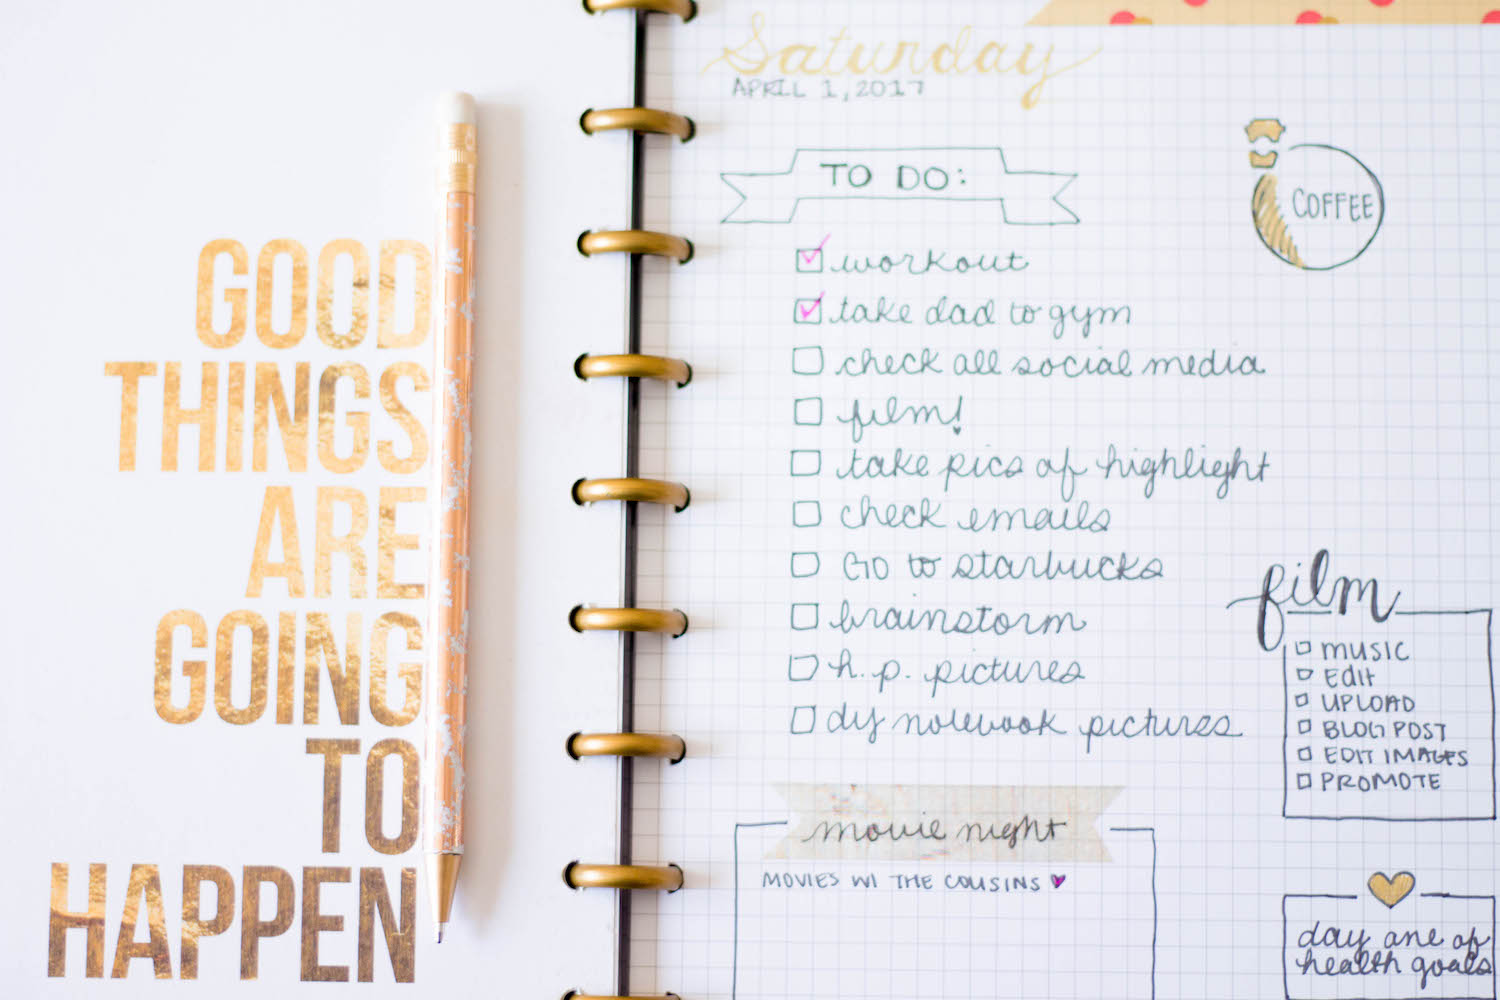
I love the way this notebook turned out. I love how customizable it is and how easily I can add and remove the pages.
Do you like this disc-bound system?

